


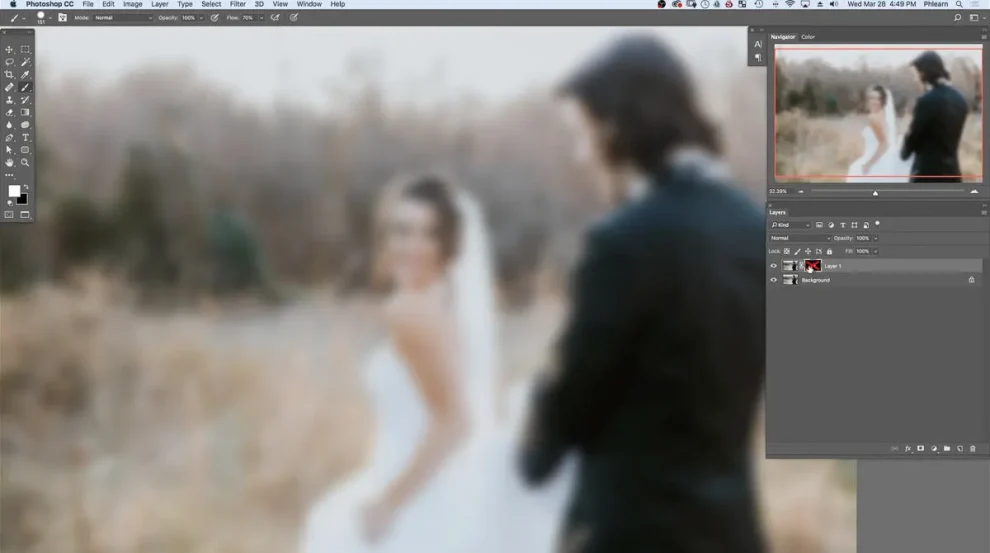
The theory/objective amongst Photoshop users is maintaining the subject and focus of the image editing jobs. Applying the Blur effect will optimally enhance the focus of an image while preserving the captured scenario.
For context, blurring the background of an image makes the viewer focus on the foreground as the image centre. Photoshop users have reportedly made the blur effect more than fiction — applying Blur at the image background and applying Blur to shade off photo bombers or featured strangers.
The blur effect has made unwanted objects featured in an image transparent or invisible to the viewers. For context, the Blur effect is optimally applied in an image with a crowd featured in an event, paparazzi, rally, and other related scenarios to apply this blur effect to minus strangers out of focus.
It is a no-brainer that the blur effect is mostly applied in the background — this affirms the Blur theory that states “the applied effect makes viewers of an image focus on the center of the image, per image production.”
How to apply the Blur effect in Photoshop
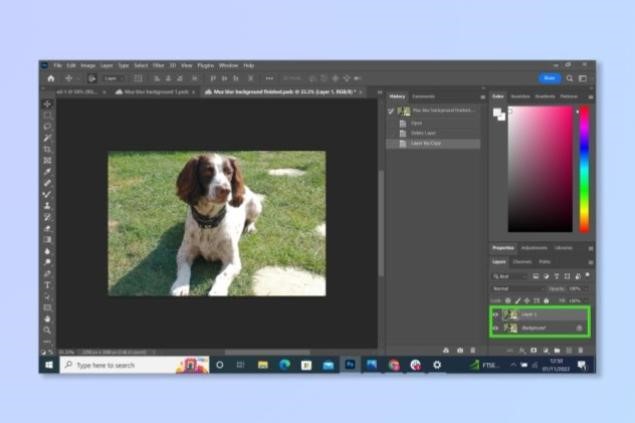
- The first thing to do is Create a Duplicate background layer. Select the Layer and click Ctrl + J on Windows or CMD + J on Mac.
- On the duplicated copy, scroll through the Properties menu and click Select a new subject.
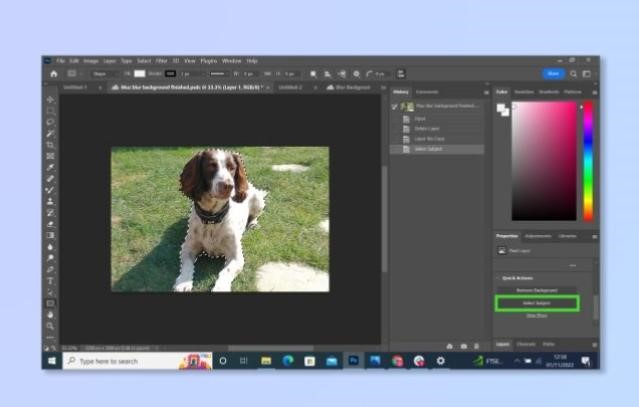
- Click select to modify or expand the image. It is optimal to avoid cutting the edge of the image — so, expand your image with the select tool.

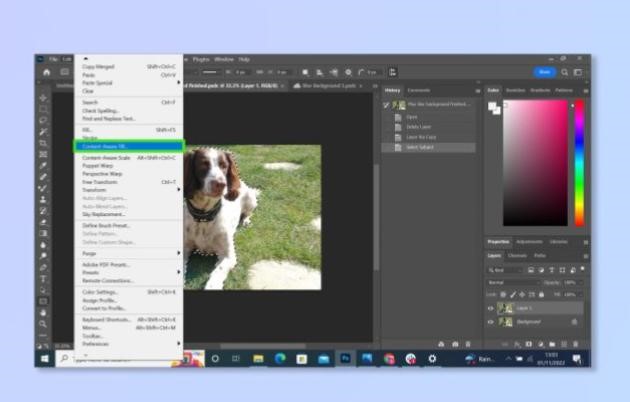
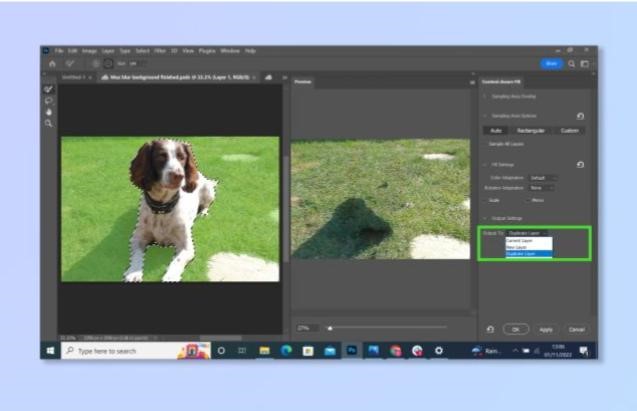
- Go to the Edit tab, and select Content-Aware Fill. Observe dotted lines at the border of the image on securing its edges.
- Ensure that the Duplicate Layer output should be active in the Output Settings, then click Ok.
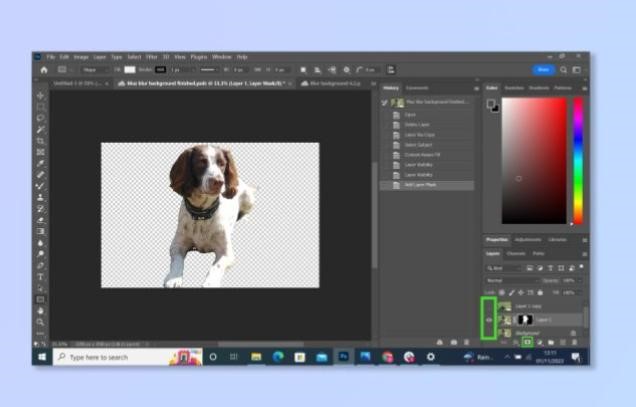
- Click the eye icon to Disable the two background layers, then add a Layer Mask on the subject layer.
- The active Layer Mask will allow the Photoshop user to click the Filter tab — click Other, click Minimum, then click Contract the Mask.
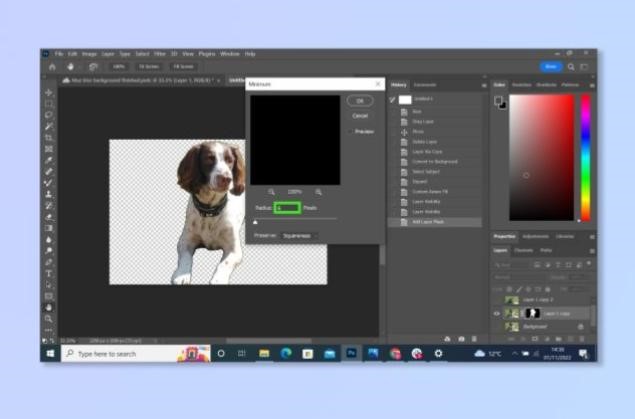
Ensure that the selected contract mask can be expanded beyond the predetermined pixel to clean the edges of the image.
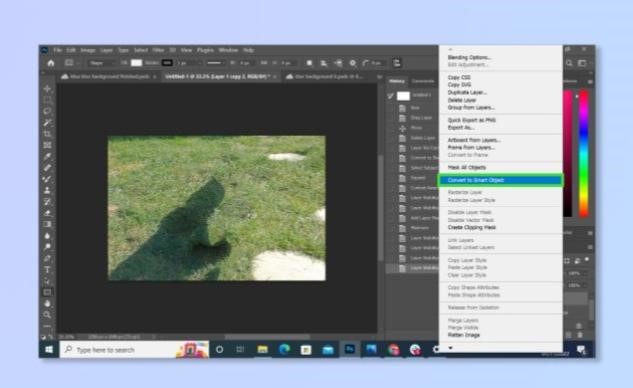
- Right-click the copy of the background layer and transition it into a Smart Object. At this point activate the eye icon again to enable the Subject Layer.
- Click the Filter tab to Blur Gallery and then click Tilt-shift.
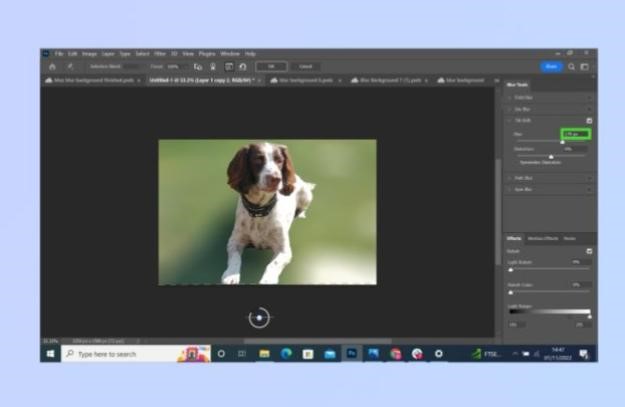
- Adjust the blur’s thickness with the slider and adjust the position by dragging the lines on the image.


Add Comment