


Sharing images online can be tricky in terms of file size — this article will tutor you on how to resize your image by reducing the size of images making them smaller in size to be compatible with the cause of upload. Resizing images for online upload is likely to depreciate the value of the image whereby the image quality will be lesser than the original file.
This article focuses on resizing images without indicative flaws that either display half the image, reduce the image quality, or any other related flaw that displays an incomplete image. Resizing an adequate image can be ideal for social media upload, website profiling, or other necessities to optimize the image size adequately.
Several autonomous app developers have relentlessly created apps to optimize editing images without contradicting their quality and format. This article will tutor how to edit or resize an image with the device’s custom app on Windows and Mac OS platforms maintaining the preferred image format.
Still, I suggest users attempt to resize the duplicate of an image rather than continue editing an image that is likely to overwrite the original copy. The original copy of an image will rectify mistakes done in the duplicate image serving its futuristic purposes.
How to Resize images on PC
Recall that the original images need to be copied to retain the image quality at the expense of mistakes, right click on the original file and click copy to duplicate the image. Desktop users can either choose to resize an image via the Paint app for Windows or the Preview app for Mac.
For Windows users
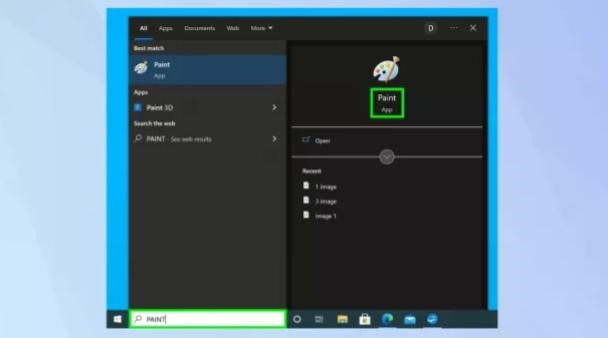
- Launch Paint — Windows users’ can either launch the Paint app via the search keyword on the Start Menu or select & right-click, click Open With, then click the Paint app among the enlisted apps.
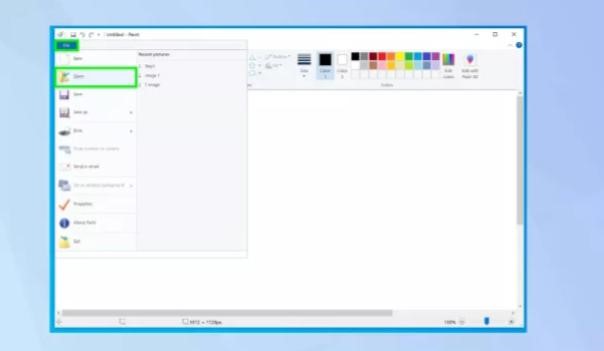
- Go to File tab, click Open — browse the pop-up window to select the preferred image for resizing.
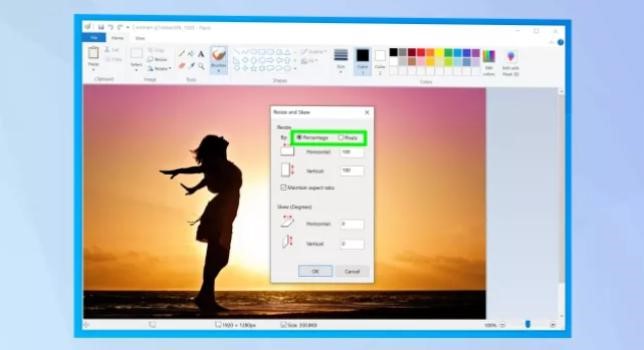
- At the top of the Paint Window, observe the image tab that allows users to resize an image.
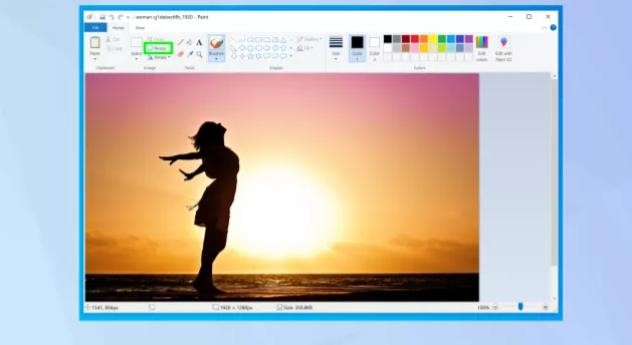
- Adjust the size of the image by applying a percentage or pixel according to the preferred image size.
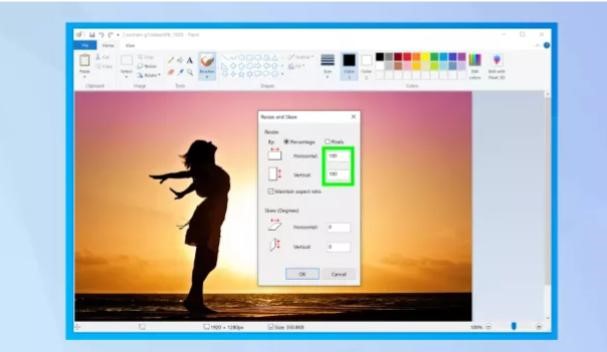
- Confirm the new horizontal and vertical size of the image.
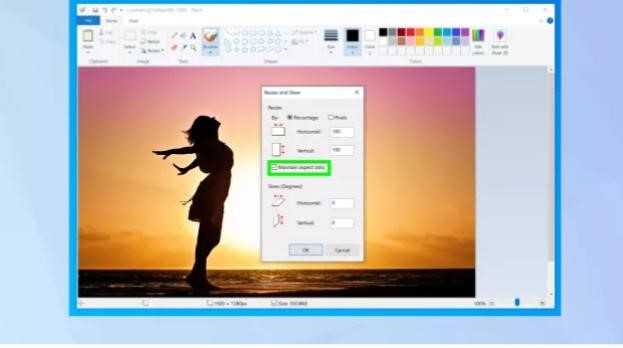
- Then again, click the check box to Maintain aspect ratio — any mistake at this phase will retract the image to its original proportion which is equivalent to 100%.
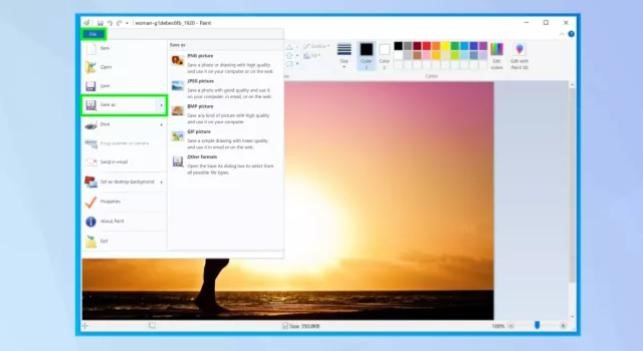
- Save the edited image — go to File, click Save as — select the preferred format such as PNG or JPEG.
Viola! Your image is resized.
For Mac users
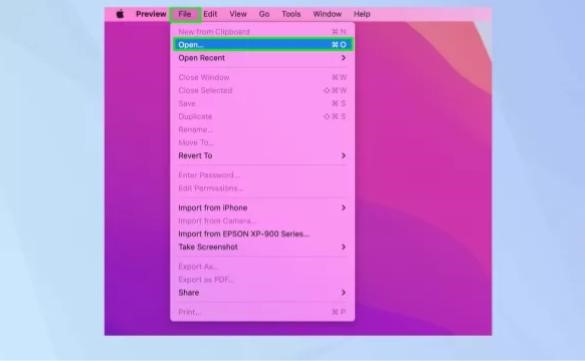
- Launch the Preview app and go to File. In the File menu Interface, click Open to select an image to resize.
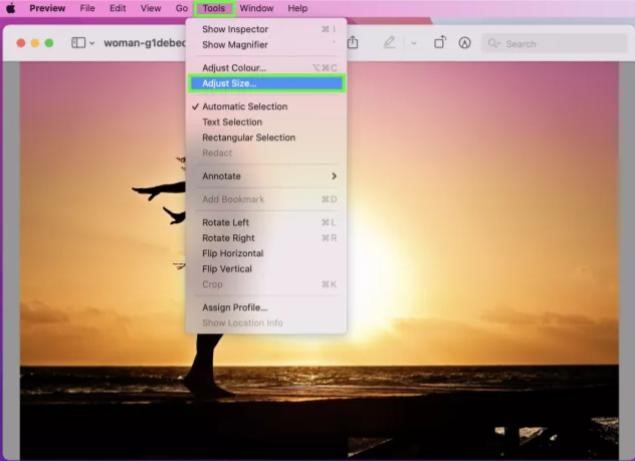
- Click Tools in the menu bar and select Adjust Size — on the Mac system, double-clicking an image opens the image in the Preview app waiting for the editor’s response.
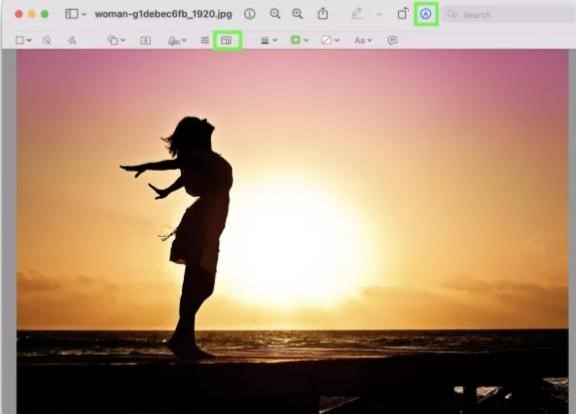
- Click the Markup Toolbar button. Go ahead to click the Adjust Size button — these are preferred options in the Preview app window.
- The image dimension dialogue box is the next thing on the screen that allows the editor to select a preferred image size or use a Custom size to Fit in as a JPEG or PNG file.
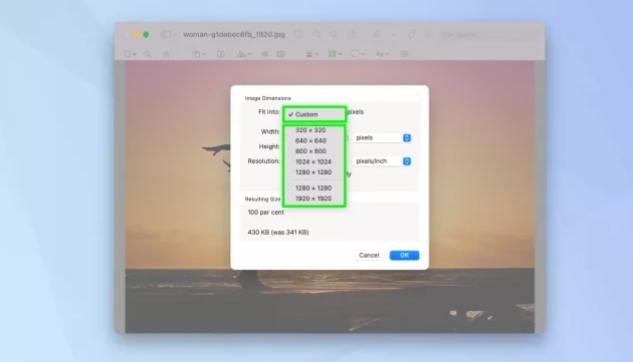
- Enter a value next to width and enter a value next to height. This denotes a manual change to the image width & height.
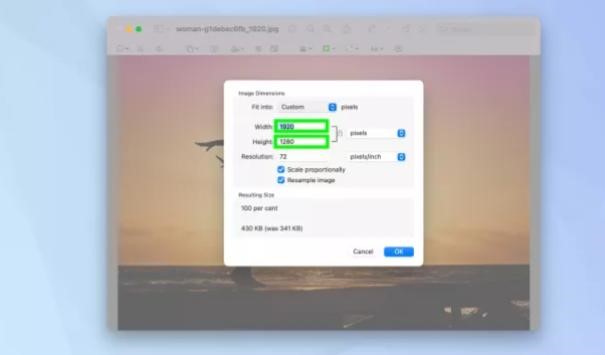
* What to observe on the Image Dimension window.
- Observe the proportional scale option that allows a maintained image quality
- Observe the resolution effect applied to the image dimension.
- Observe the pixel and other measurable options in the image dimension dialogue box.
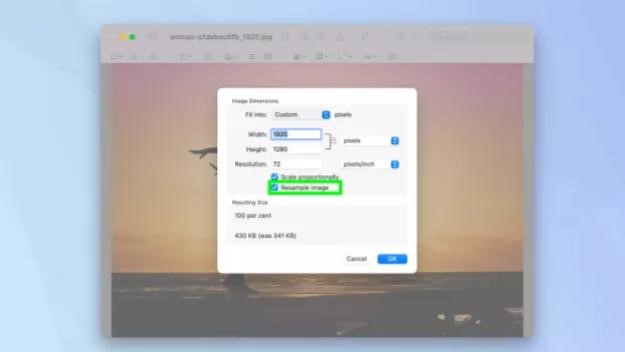
- Still, on the dialogue box, uncheck the Resample image option to save the resized image as an original file.
- At the satisfaction of the image resize via Preview, click Ok to close the Image Dimension dialogue box.
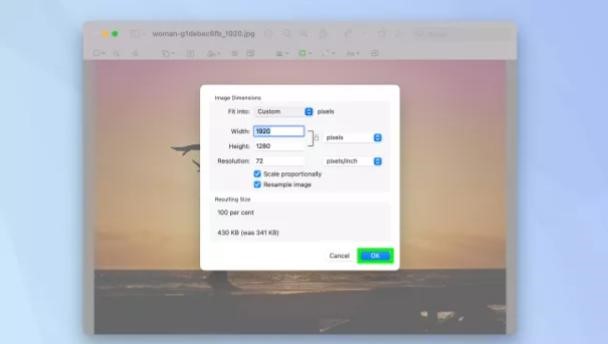
- Click File to either Save or Export the image.
Viola! Your image is resized.


Add Comment