


Capturing images, photos, pictures, or whatsoever is an adventurous collection that reserves memories for reminiscing. The evolution of the smartphone and other high-end gadgets has made capturing several collections of sceneries an easy trick activating the custom feature made by the device maker.
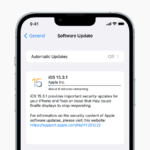
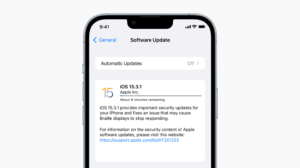
Apple technology has evolved to a system that backs up its business and other flagship products via its cloud-based storage system, named iCloud. The latest iOS system update version 16.1 has a custom feature that allows both pre-existing and new content from the Camera app to be saved automatically on iCloud.
iPhone users don’t need to manually back up their gallery on every set of photos they shoot on the device. New content from the Camera app will be saved in a custom folder on the iCloud dubbed Shared Photo Library. Apple urges its customers to enable the custom feature that integrates the iCloud system with the device’s Gallery app
This feature is built with a simple interface that allows users to optimize their device saving time, device storage space, auto backup system, etc. Lest I forget to let you know that iPhone users can also switch off this feature with ease. It just saves users the stress and time of saving images manually on iCloud.
It is worth noting that the automated integration with iCloud and the Camera app works with the internet that allows the Apps to communicate in the background. For context, whenever a user is offline, iCloud will pause its automated function. Yet backup photos and other files when the device connects to the internet.
How to link the Camera app with iCloud
There’s more to be done with the Apple ID that allows the device to run backups without the device owner’s consent despite activating the feature beforehand. Follow these steps and discover something new.
- Launch the Camera app, and take a picture — observe the top right corner of the screen, next to the flashlight icon there is a double silhouette icon, click the icon.
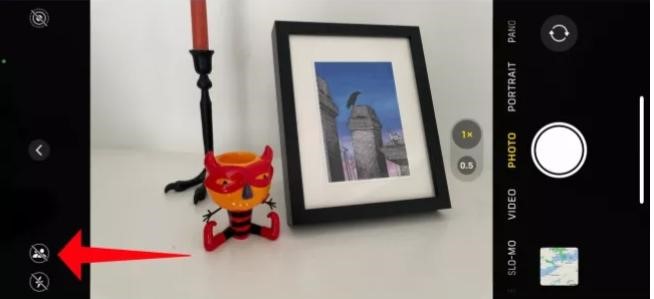
- The double silhouettes icon will turn a yellow colour that denotes photos will be backed up in the iCloud Shared Library.
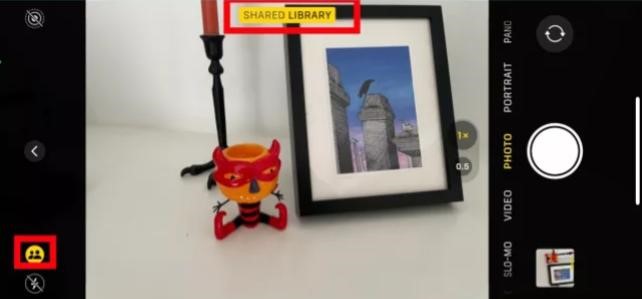
- Observe the Shared Library folder activation message notification after clicking the double silhouette icon — this denotes photos will be saved in the iCloud Shared Library folder.
- iPhone users can also switch off the iCloud Shared Library folder automation by deactivating the double silhouettes icon.
- Observe the yellow double silhouette icon becomes numb with a slash deactivating the icon.
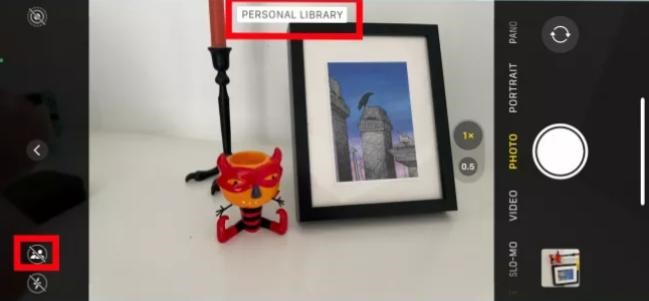
- Then again, a quick message that denotes the Shared Library is active will also display a transition that the Personal Library is active.
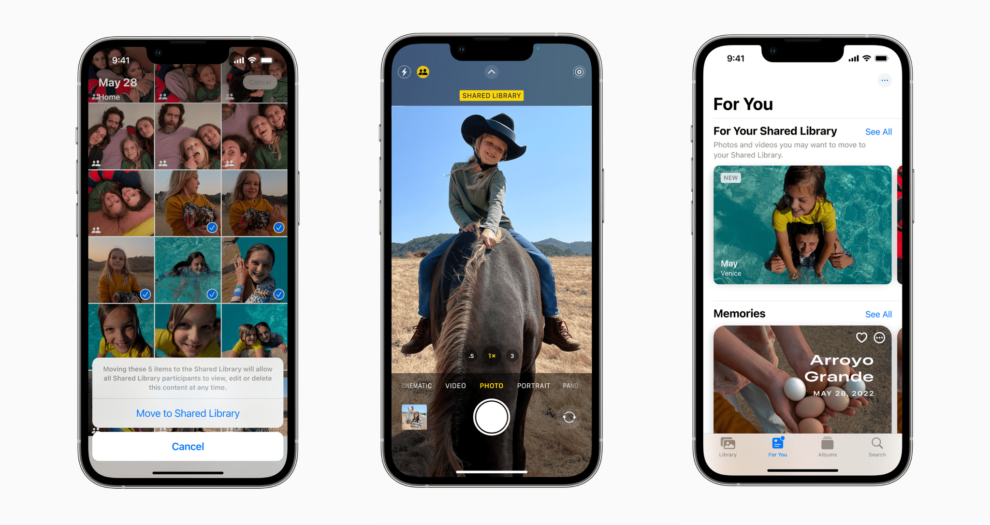
iPhone users can also manually share new or pre-existing photos to the iCloud Shared Library folder. Continue setting up the iPhone to share the same photo saved in the Photo app and a Shared Library on iCloud.
- Launch the Photo app, browse through the gallery and select the preferred image to save on iCloud’s Shared Library.

- The selected image opens on the screen, observe the top right corner of the screen and click the single silhouette icon to drop down the short menu.

- The drop-down option suggests moving to Shared Library next to the double silhouettes icon.

- Observe the selected picture has a double silhouette tag that indicates the photo is shared content with iCloud. The iCloud Shared Library is very responsive whereby the shared photo also indicates the double silhouettes icon on its thumbnail


Add Comment