


Doing things oneself is ideal to build the subconscious IQ where proper management is done momentarily other than being practiced as a skill. This DIY topic is focused on maintaining your headphones per simple steps to cleanse the device of piled-up slurry dust debris that reduces the headphone’s sound equalizer.
Aside from maintaining the original sound quality per headphone cleansing, proper management has contributed to life span longevity. It’s worthwhile to sanitize your devices regularly — especially headphones. Due to daily use, devices like these are likely to contract slurry dust. Piles of slurry dirt in the headphones and other gadgets are more visible on coloured devices.
Dark-coloured headphones, beatboxes, air pods, and other listening devices slightly conceal dirt. The slurry dust on dark-coloured headphones will increase the chances of a diminished valued device due to non-maintenance. This maintenance technique proves it can preserve the value of the headphone per the device’s expensive price tag.
This DIY technique for cleaning headphones requires some household tools to wipe both ears of the headphone and other exterior surfaces. Follow these steps to thoroughly wipe the headphone off slurry dirt to improve quality sound and expand the device’s life span.
Essential tools for cleaning headphones
Alcohol — for disinfecting certain surfaces.
Microfiber towel.
Dish soap — this is optional because of the alcoholic solution.
Soft-bristled brush — this is also optional due to the presence of a microfiber towel.
Steps to cleaning headphones
Aside from following these steps, it is ideal to use the custom device manual provided by the headphone maker to avoid contradictions whereby this technique might not suit the headphone model and its features.
Switch Off or disconnect the headphone.
This step procures device safety whereby the users consider if the headphone is plugged which and needs to be unplugged and powered off due to its cordless attribute as part of its feature. Even headphones with cords are required to be unplugged and disconnected to maintain safety.
Stretch out the headband.
Recall that every nook and cranny of the headphone would have plied up slurry dirt from light clouds of dust and other sources. Open up the length of the headphone’s headband to access all the trapped slurry dust piled up in the headband compartment.
It is ideal to expand the headphone’s headband way past the preferred user length for thorough cleansing then move to the next compartment. Use a soft-bristled brush to scrub the edges of the device — dish soap can suffice per the user’s optional discretion.
Focus on the exterior
Before getting to the headphone’s interior compartment, the outer space needs some cleansing too. For headphones that have brighter colours, note that light clouds of dust will debris at stationed corners.
Use a microfiber towel to penetrate the spot around the stretched headband to wipe off slurry clouds of dust. Continue wiping through and avoid letting the liquid cleanser touch the headphone’s electrical components to avoid malfunction.
Clean other external spots where clouds of dust slurred debris such as the speaker, the ear pads, buttons, and other external spots. Get a soft-bristled brush (a toothbrush can also suffice) to wipe off thick slurry specks of dust debris at any spot.
Remove the ear pads.
This is the phase that commences dismantling the headphone up to the speaker’s compartment. Cleaning this compartment will enhance the sound quality starting with the ear pads before diving deeper for thorough cleansing.
Then again, it is ideal to remove the ear pads for thorough cleansing likewise abiding by the headphone maker’s manual in disassembling the ear pads from the device. Do not use dish soap at this spot to avoid electrical malfunctions.
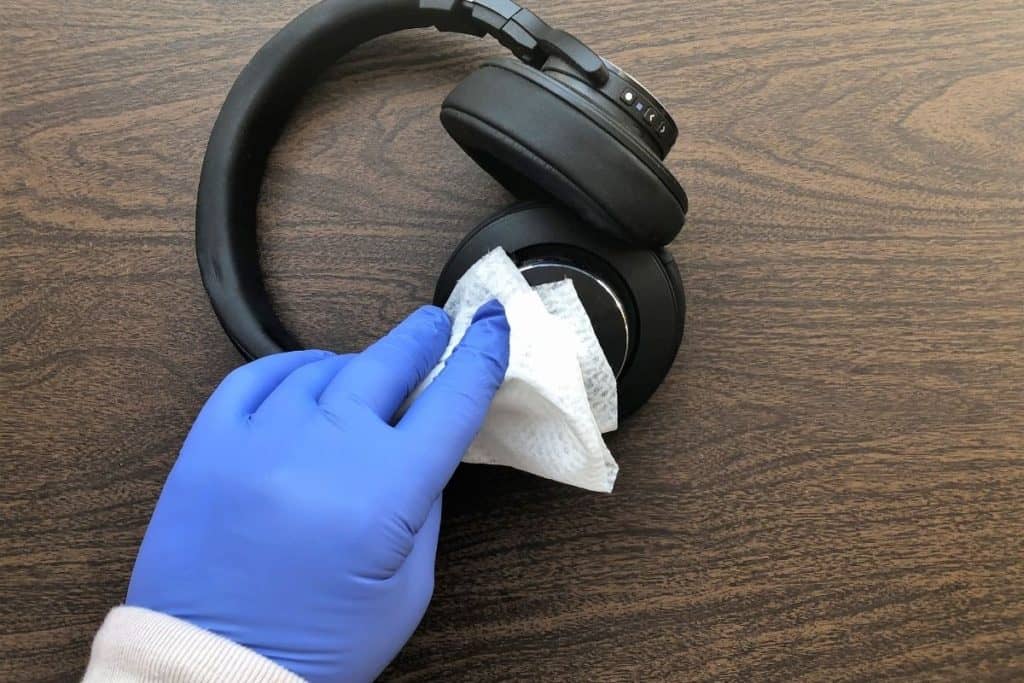
Clean the speaker compartment.
The speaker compartment could be regarded as a cup that contains delicate electrical items such as the speaker itself. The soft-bristled brush is ideal to wipe off slurry dust — do not uses dish soap or any liquidized content to avoid damaging the speaker and its wiring.
This approach is done with caution due to the fragility of the headphone — especially the speaker compartment. A soft-bristled brush or buds of cotton wool will suffice to clean headphones without complex outcomes.
Reassemble the device.
The speaker compartment and its ear pads could be the centre of attention for the compilation of more slurry clouds of dust. It is ideal to disassemble and separate everything on the headphone aiming at dust founds in hidden spots.
Prior to assembling the device, it is ideal to use an alcoholic cleanser to disinfect the headphone with a microfiber towel or scrubs the dust and other slurry dirt. Then again, allow the headphone to dry before assembling the device.


Add Comment